Whether you’re new to home cooking or an experienced veteran, these are the 8 fundamental tips every home cook should be using to make the biggest difference in the kitchen at home with the smallest amount of effort - the highest ROI (return on investment) if you will. These are the things you’d be silly not to do, and common tips even Michelin star chefs preach at home. Let’s begin.

The first tip starts before you’ve even commenced the cooking process… by creating a weekly recipe menu. Instead of buying a bunch of random ingredients and cooking on the fly, the idea here is to be intentional about the meals you’re cooking each week and list them down, even treating it as if you’re a restaurant with a menu each week, taking pride in what you’re making and looking forward to each dish.
Now I know you might be thinking “that’s a lot of effort, and I’m not a restaurant”, however, although it’s initially more effort to make a list of the meals, it’s a practice that once cemented makes the entire home cooking process an organised system that flows like butter. Plus, intentionally picking meals (whether that’s from cookbooks, the web, old reliables, or our favourite… recipe cards) means you start to build up your meal repertoire, keep things exciting in the kitchen, and inevitably build a menu each week you love and look forward to.
How it works (The Menu System):
For context, we do a weekly menu, but you can always break this up into chunks depending on how frequently you like to buy groceries.
And that’s the weekly menu.

So that was the longest tip, but here’s the shortest… Read the Recipe. That’s right, simply read the recipe in full before you start preparing/cooking. The amount of times we’ve stormed ahead, prepared everything, then started on step 1 only to get to step 3 and realise the oven needed to be on, or we actually had a 45 minute window to prep whilst something cooked in the oven. Therefore, best practice is to read over the recipe in full once before doing anything else.
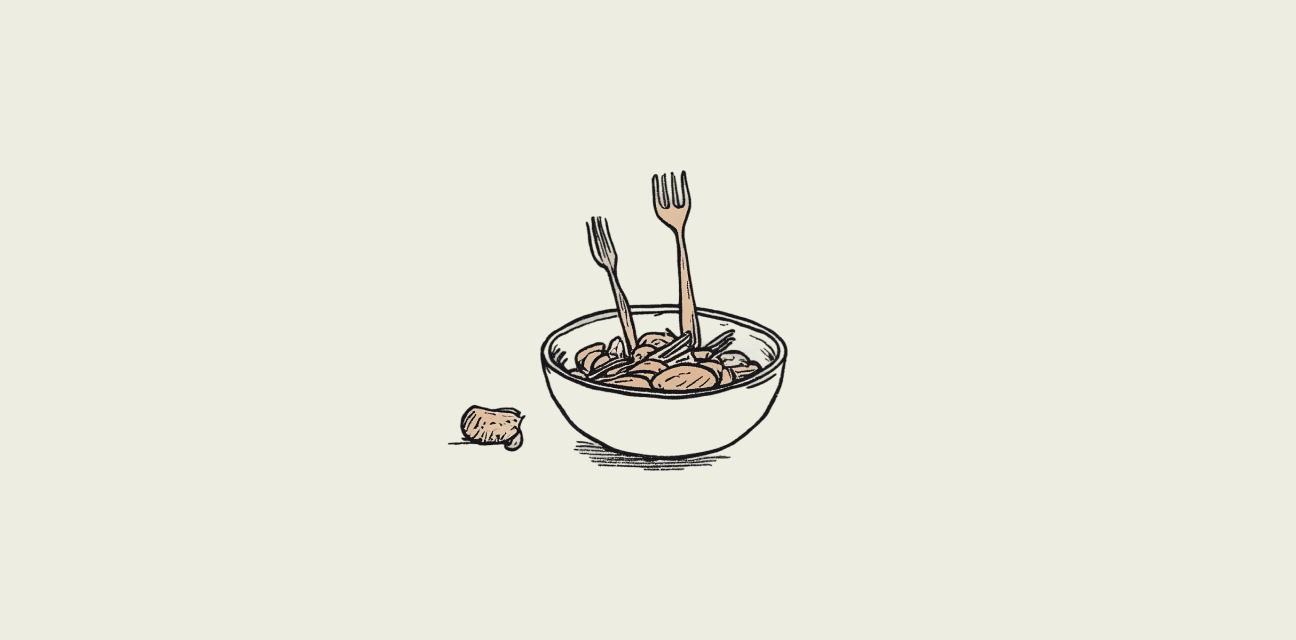
Next up we’re off to France for the one tip that reduces the most amount of stress during the cooking process, and what most attribute to being the reason they can actually enjoy cooking at home.

Now this sounds fancy, because it is. Mise en Place translates to “Everything in it’s Place”, and is a fundamental concept in professional kitchens - although just as important in home kitchens. Simply put, it is the practice of preparing and organising all your ingredients and tools before you start cooking. And of all the tips, this is without a doubt the one that makes home cooking life the easiest, because oh my does it remove stress from the cooking process (also, it’s super simple).
How it works is as follows… simply prepare everything related to your recipe before you start cooking, that way when you are ready to cook you have everything in it’s place, on-hand, and easily available. This means no panic chopping or grating whilst somethings frying away, or realising you forgot a key ingredient and now need to come up with a substitute on the fly.
Things to prepare include:
Now there’s a reason people don’t do this, and it’s because in theory it does take longer (say 5-10 mins), because instead of doing prep work whilst you’re cooking (2 things at once), you’re now adding more time to the start. However, the amount of stress you’ll relieve by going through the motions carefully at the start, is without a doubt worth it. Think of it as adopting a new zen mindset to the cooking process.
This little trick is one you’ll think is completely unnecessary, that is until you try it - then there’s no going back. The table top pot is just that, a little pot/bowl you place on the counter to use throughout the entire cooking process. In this pot you can place food trimmings, used utensils, or packaging waste as you go. The idea is to have something right by your workspace so you can deposit of no longer needed items without having to go back and forth between then bin or dishwasher, saving time, but also reducing the risk of spreading dirt or germs (as you’re no longer opening bin lids, dishwasher doors, or touching multiple surface counters).
Now you may have unknowingly used this trick before, perhaps using the leftover meat tray or mushroom punnet to collect scraps into, then depositing it all into the bin at the end - simple, easy, and efficient. The table top pot is simply the intentional version of that. You can even use something aesthetic to compliment your kitchen, but always ensure it’s dishwasher proof, that way you can always put it in at the end of each meal and have it ready for the following day.

Now I know you’ve heard this a million times, but it’s for a good reason. However, because you’ve heard it a million times, I’ll keep it short, whilst also letting you in on a time/effort hack we use.
Fundamentally a sharp knife helps with two things:
There are also two methods of keeping a knife sharp:
The Sharp Knife Hack - Now I mentioned how although sharpening a knife using a whetstone is relatively easy, it’s pretty boring and time-consuming. And, let’s be honest, when you get around to preparing your meal for the evening, the last thing you want to be doing is spending 15 minutes sharpening a knife. As such, we tend to use a local knife sharpening service (very popular in most places) which costs between £5-£10 per knife. It’s super simple, you can drop them off on a day when you know you won’t be cooking that evening, then pick them up the following day. Some services even do home pickup/dropoff as well. For us this is without a doubt worth it, as realistically we only need our knives sharpened every few months as home cooks, then every few days we can keep on top of it by honing the blade, which let’s be honest is both fun and fast.

An incredibly easy and fast tip is to season as you go, otherwise known as “layering” - this is where you season (e.g. salt & pepper) your food at regular intervals during the cooking process. This is because layering allows flavours to develop over time throughout the cooking process, resulting in greater depth and balance of flavours compared to simply adding your seasoning at the end.
Now, this doesn’t mean adding vast amounts of seasoning throughout, as this may spoil the flavour entirely. It just means spreading out your seasoning at regular steps during the process. For example, seasoning your vegetables whilst they fry, seasoning your meat before it even enters the pan, seasoning again after combing it all together, then finally seasoning when you serve. This practice also helps you stay on top of the seasoning levels, allowing you to taste and adjust accordingly as you go - that way you’re left with a flavour profile that suits you’re tastebuds best.
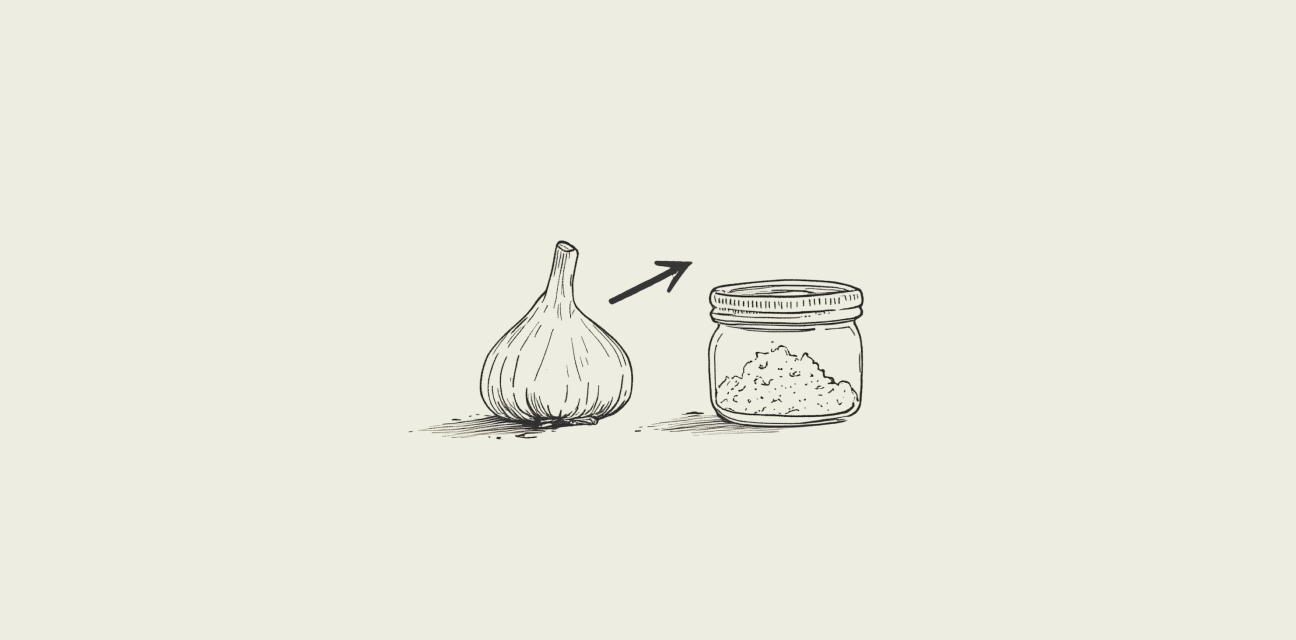
As home cooks we value time immensely, because quite frankly there just isn’t enough of it. Now sometimes this can make preparing certain ingredient an absolute pain (we’re looking at you garlic). As such, here are some of the best ingredient swaps you can make to save a tonne of prep time, without loosing much quality in flavour. Here are our highest ROI alternatives:
Now bare in mind although these things save a tonne of time, they do come at a price - literally, as these things will usually be a little more expensive than their bare bones options. However, for most recipes they’re worth the investment. Give them a try and adjust accordingly, for some recipes they might be worth it, and others (usually those where these ingredients are a focal point) might still be worth investing the time in their fresh counterpart.

Most recipes will tell you the level of heat to be using (e.g. medium-high), but there’s a few heat control fundamentals that are good to know regardless, as they’ll help you unlock more flavours, cook foods more evenly, and reduce the risk of destroying your equipment. Before you crank up the heat, here they are:
High heat for browning, low for building flavours - Browning on high heat is usually reserved for meats and vegetables, giving them that browning look that unlocks a certain flavour profile and texture. Where as using low heat to build flavours is reserved for certain dishes, or specific steps where you are combing multiple ingredients (especially herbs, spices, or sauces) and are looking to slowly bring it all together. And remember, whenever you’re adding something milk based (cheese, cream, etc), be sure to cook on low or no heat to prevent the it from curdling (clumping… eww!).
Heat pans properly before use - This applies mainly to browning, as a hot pan gives better browning and prevents sticking, so wait for you pan to heat up first before adding oil, followed by your ingredients.
Don’t overcrowd the pan - This applies especially to meats and veg, as this will limit browning, resulting in worse flavours/textures. A great tip here is to cook in batches, meaning to cook your vegetables first, set aside, then cook you meet and combine together at the end. Otherwise, you run the risk of steaming instead of browning - something you may have encountered when adding everything into one pan (usually there’s a thin layer of liquid you can’t seem to get rid of).
Deglazing the pan - After browning you’ll often find brown bits left over, these aren’t to be washed away, as they pack a massive amount of flavour. Instead, get into the habit of deglazing the pan using a splash of wine, stock, or vinegar (depending on the flavour profile of the recipe) to lift the browned bits as you continue to cook.
And that’s it, 8 of the most fundamental tips for home cooks, all designed to give you the biggest return on your time invested. It’s these tips that will make the greatest impact to life as a home cook, so give them a shot next time you’re in the kitchen.